
Hey Folks! This year tulips have become a symbol of spring for me. They blossomed under my window first. Their bright color made me happy one cool morning and gave me a good mood. Tulip drawing is a great practice for shadows and complex shapes. So grab your pencils and liners, it’s time to dive into this.

For drawing an easy snowdrops with a liner, you’ll need:
- Watercolor paper 200 gsm (120lb)
- Pencil HB
- Fine liner Micron 0.2, 005, black, and grey
- Eraser extra soft
You may use other supplies, but the result may be different. So enjoy the process and not the result.
How to draw step-by-step:
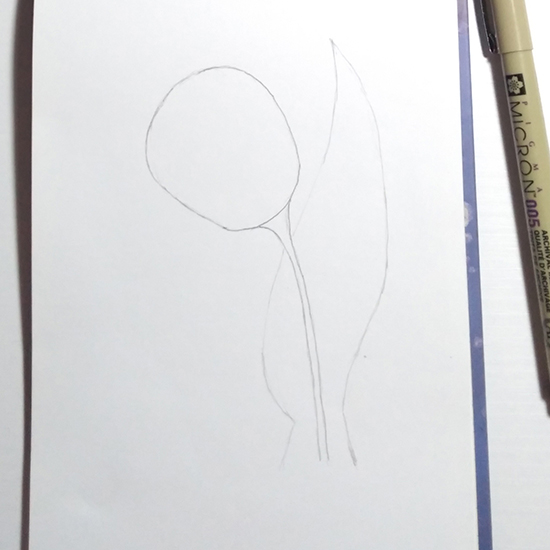
1. Draw an oval with a pencil.

2. Draw two lines.

3. Draw the outlines of the leaf. These are C-curves
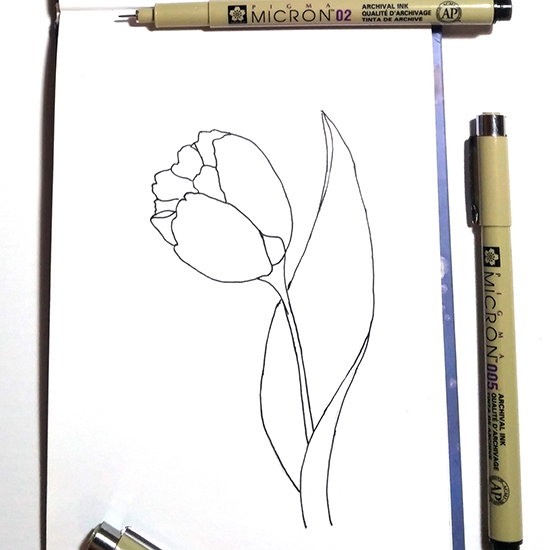
4. Draw the C-curve of the first petal.

5. Draw the second petal.

6. Draw the outlines of other petals.

7. Draw all the lines with a black liner 02.
8. Apply shadows on the flower with fine liner 005.
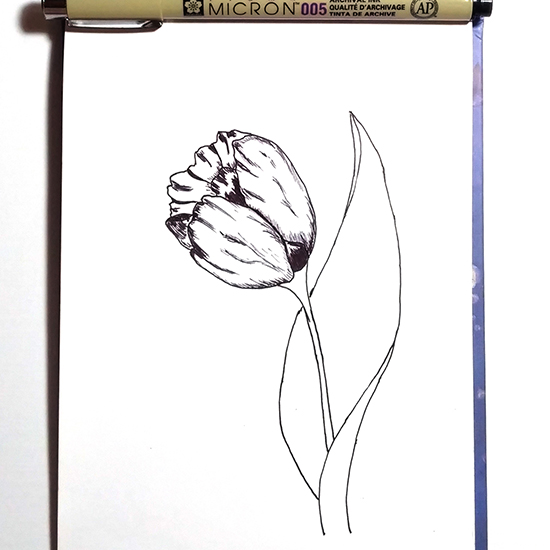
9. Apply shadows on the leaves.

10. Add some half-tones with a grey liner to create depth.
11. Add details.

12. That’s it.
Happy Drawing!
You can also check out my other awesome tutorials.


And do also drop me a comment if you enjoyed the tutorial. I love reading them!
Cass 🙂

You did a wonderful tutorial 👏🌷 Thank you ✨
LikeLiked by 1 person
Awww, my pleasure 💝💗💕
LikeLiked by 2 people